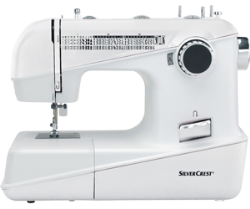
WELCOME


Needle breaks
Replace the needle. |
|
Inserting the needle |
|
|
Important: Turn power switch to off ("O")! |
|
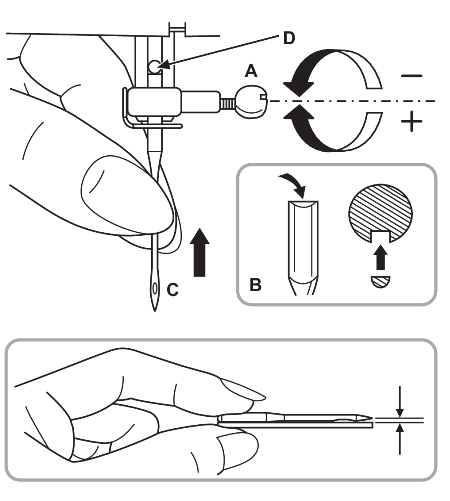 |
Change the needles regularly, especially at the first signs of problems when sewing. Insert the needle as in the illustration. Only use fully-functional needles. |
Insert the needle correctly (flat side towards the back) |
|
Inserting the needle |
|
|
Important: Turn power switch to off ("O")! |
|
|
Change the needles regularly, especially at the first signs of problems when sewing. Insert the needle as in the illustration. Only use fully-functional needles. |
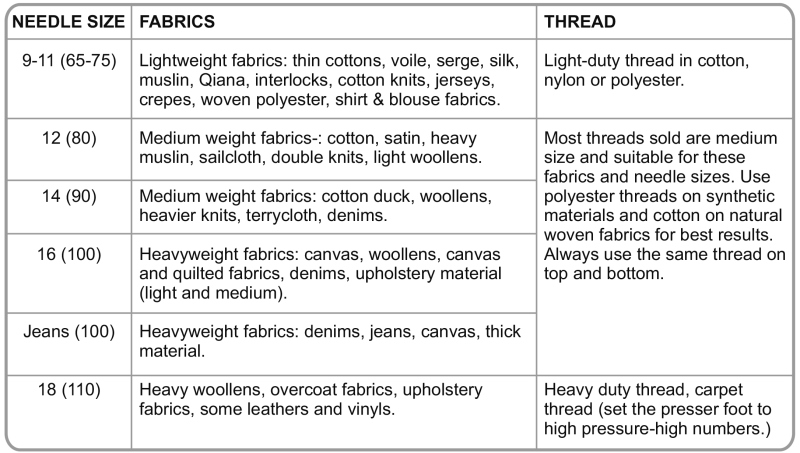
Choose a needle size to suit the thread and fabric. |
|
Matching the needle, fabric and thread |
|
|
NEEDLE, FABRIC, THREAD SELECTION GUIDE
|
|
|
Important: Match needle size to thread size and weight of fabric. Please Note:
|
Use the correct presser foot. |
|
| Attaching the presser foot holder | |
|
Important: Turn the main switch to off ("O") when carrying out all the operations! |
|
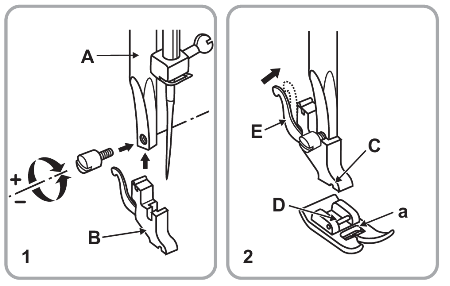 |
1. Install the presser foot holder 2. Inserting the presser foot
|
 |
3. Removing the presser foot 4. Inserting the edge/ quilt guide (q). |